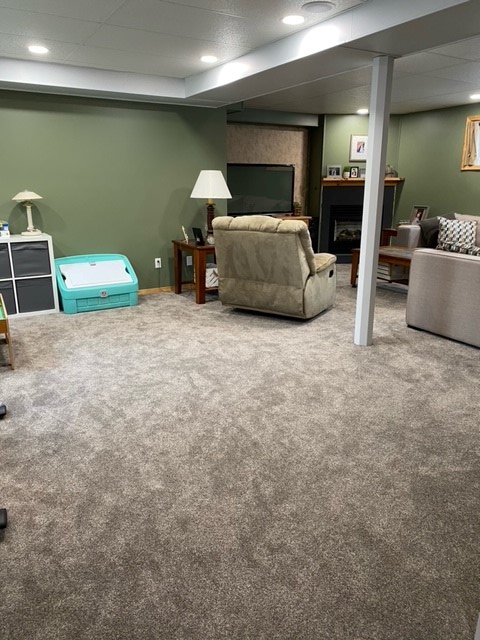
The first step is to go and pick up your supplies.
The material list for this project included: 7 rolls of carpet, 5 rolls of 7/16” under pad, smooth edge concrete application, metal track and cap.
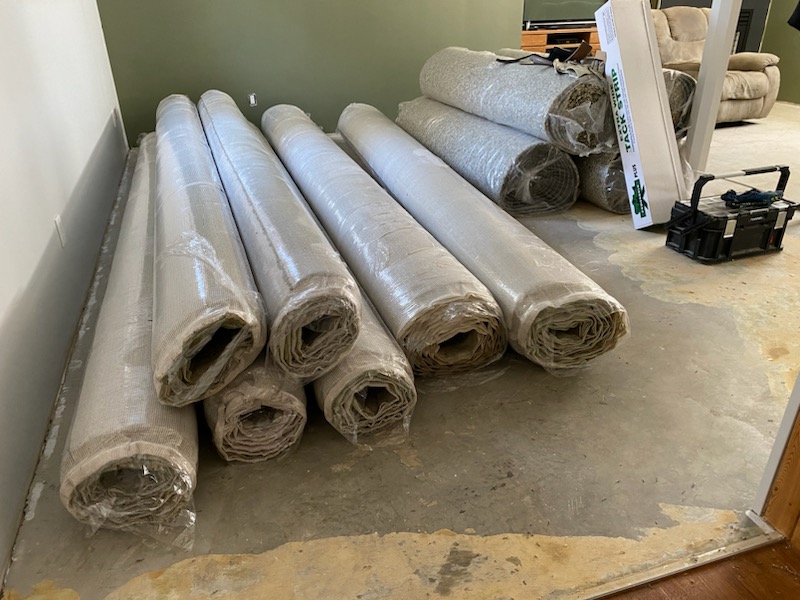
Step two:
It’s very important to pick up the supplies at least 48 hours before installation and take the product to the location where you are installing the flooring. The location must be heated and the supplies need to climatize for a minimum of 48 hours. Climatization is required to ensure the glue adheres properly, the carpet does not “heap” and if you are installing planks or tiles they could break if not climatized properly.
During climatization, it is a great time to get all of the old flooring pulled up and ensure the flooring blow is level and ready for the new carpet.
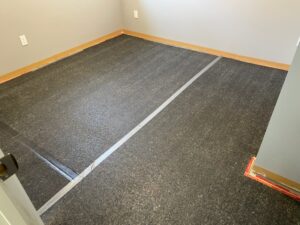
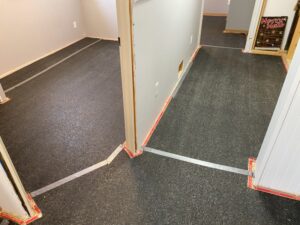
Step Three: Under pad installation
After the floor base is all prepped, the installer glued down the smooth edge. Then he glued and taped down the under pad at the seams and perimeter to prevent any movement in the pad. The glue does need time to dry before carpet is installed.
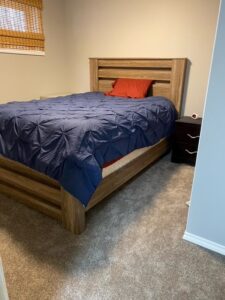
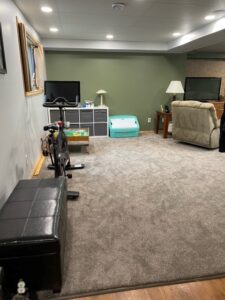
Step Four: Carpet Installation
After the glue has dried, the carpet can be laid down. The installer began with connecting the carpet seams together. From there they were able to power stretch the carpet onto the smooth edged. This step is crucial to ensure the correct amount of tension is applied for longevity of the carpet. From here, the installers can trim off all the excess carpet and clean up the job site.

